

Using ARC Genesis
Anthem Genesis is the most advanced room correction software available. Below is a complete user guide and recommendations from the Anthem team to ensure you get the best possible results of your measurements.
Install ARC Genesis
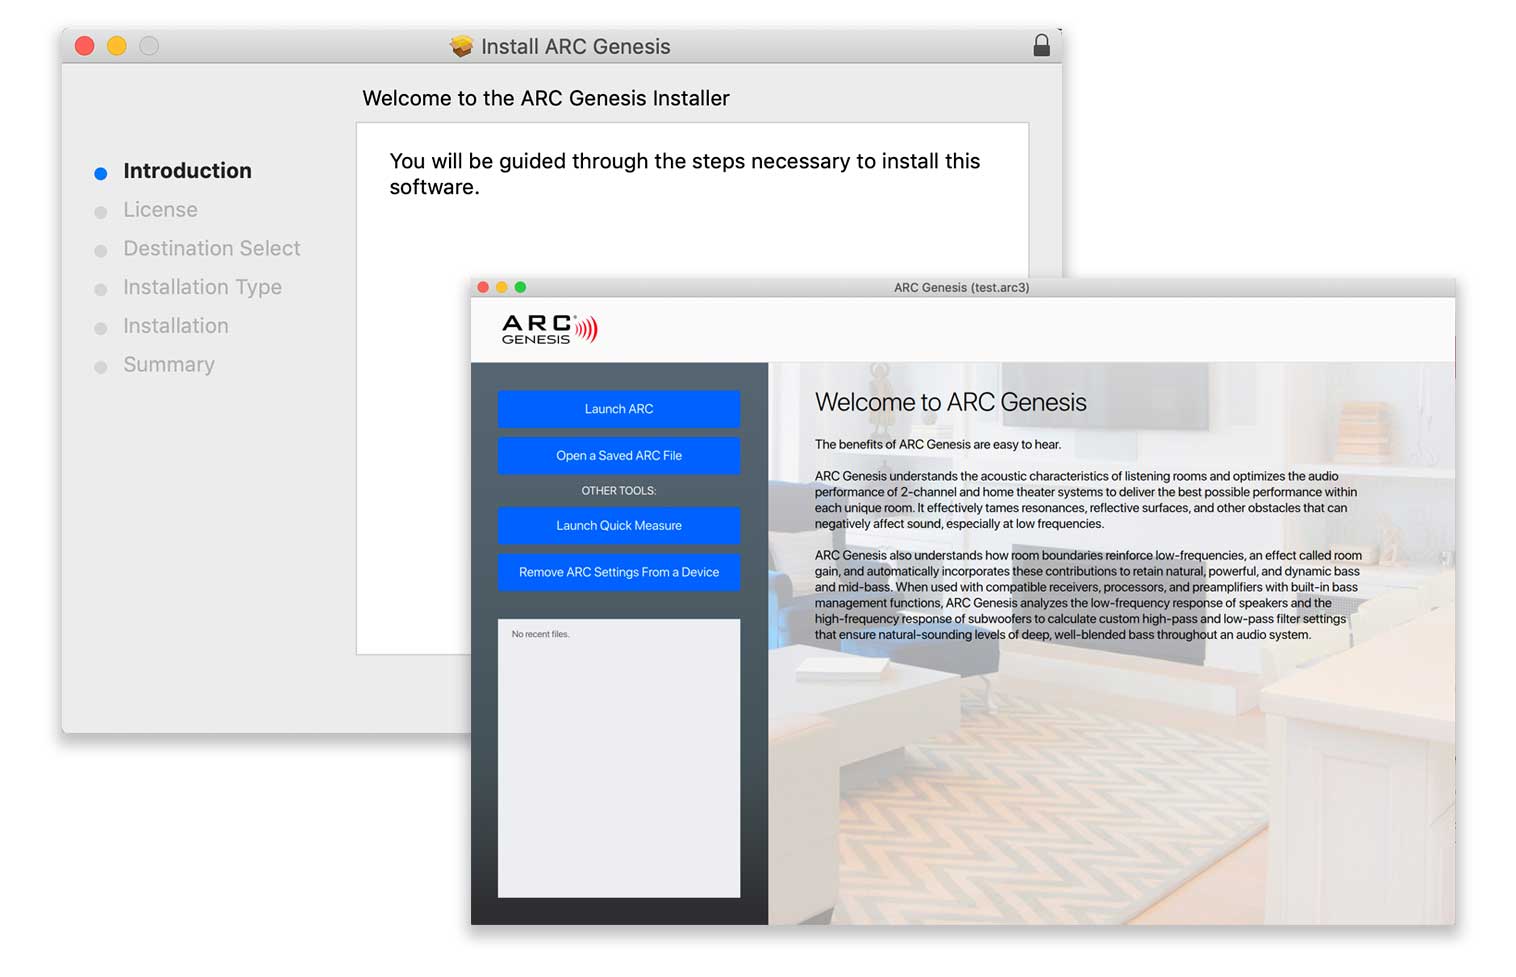
- Download and install the program.
- Connect your computer to the same network as your ARC or PBK compatible audio device, or attach your computer and audio device using a USB cable.
- Start ARC Genesis. Select Auto mode and click Okay (only displays the first time ARC is run).
- Choose Launch ARC.
- Choose your audio device.
- Configure measurements (tell ARC about your audio system).
- Choose your microphone and measure your system.
- Upload your corrections and hear the difference ARC makes.

Taking Measurements with ARC Genesis
Proper microphone positioning is essential for good results. Multiple microphone positions are required to prevent standing waves or boundaries from skewing results. To achieve the best results with ARC Genesis, follow these simple rules.
- ALWAYS point your microphone at the ceiling.
- ALWAYS place the 1st position at your primary listening location. The 1st position is critical because it is used to set the level of the overall system.
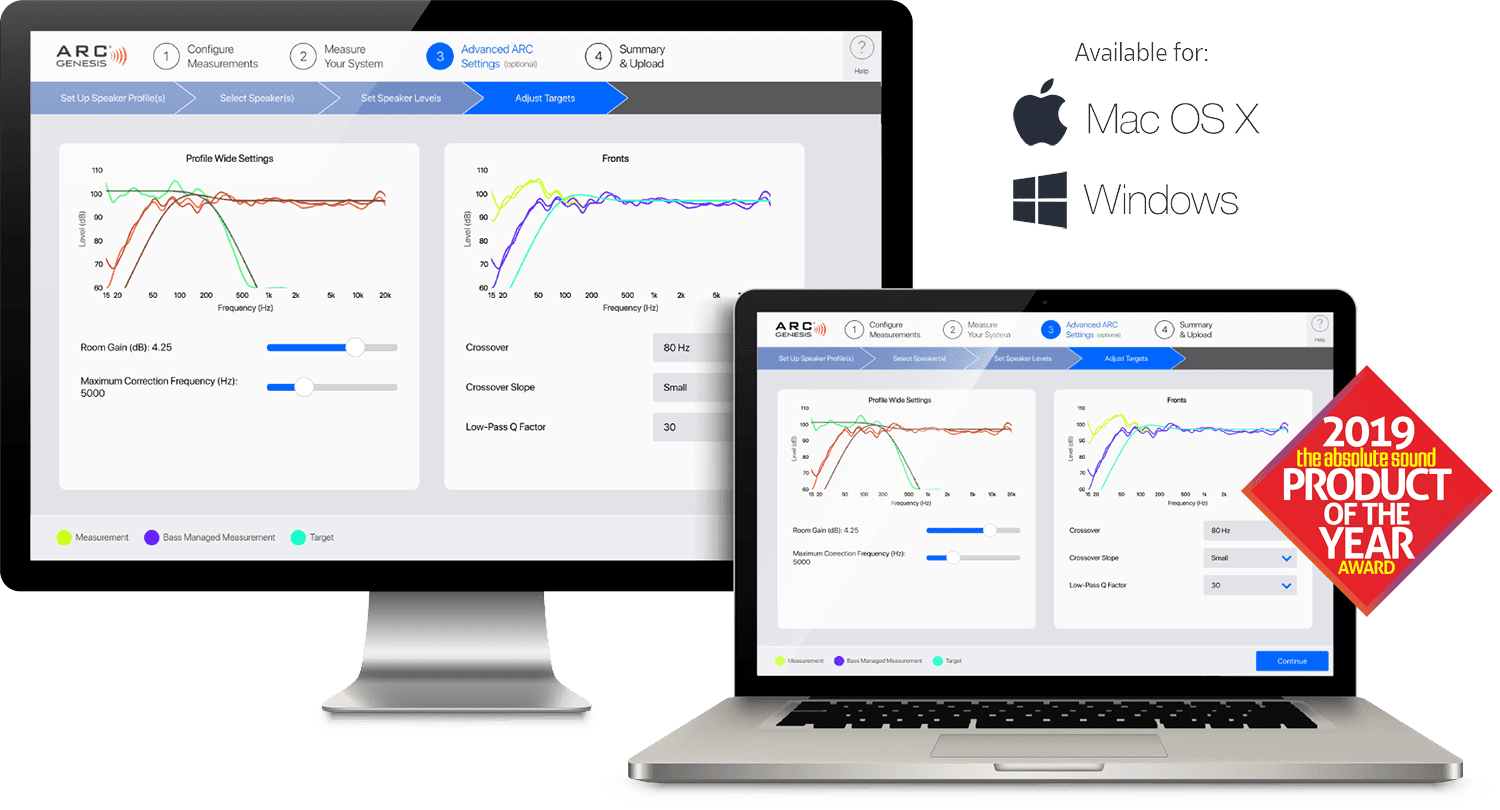
- ALWAYS place the mic height near ear level (if you sit when you listen, use the relative height of your ears when seated). The microphone, the listener’s ears, and the speaker’s acoustic center (or tweeter if in doubt) should be at approximately the same height. If the result sounds dull or bright, a new feature of ARC Genesis is the ability to boost and cut deep bass and high frequencies in the “Adjust ARC Settings> Adjust Targets” menu.
- WHENEVER POSSIBLE, make sure the primary listening position is a minimum of two to three feet (60 to 90 cm) from walls and other large hard surfaces. Please note:
- We understand that the location of the primary listening position is often not flexible.
- For best results when listening, a listener’s ears should be away from any walls a minimum distance of two to three feet (60 to 90cm).
- If the 1st mic position falls within two to three feet (60 to 90cm) form a wall, high-backed furniture, or similar obstructions, it’s important to measure from a position as close to the listener's head as possible. So place the first mic position just in front of where the listener’s head would be. In this case, always place the 2nd through 5th positions the recommended distance from each other, even if this results in them being less than two to three feet (60 to 90cm) away from a wall. The resulting pattern may look less like an X and more like a V or M, and that’s okay.
- WHENEVER POSSIBLE, place the 2nd through 5th positions two feet (60cm) from the 1st position. Up to three feet (90cm) is acceptable, but not usually necessary.
- WHENEVER POSSIBLE, place the 2nd through 5th positions symmetrically around the 1st position. Use an X pattern, with the 1st position in the center of the X, and each corner two feet (60cm) from the center.
- WHENEVER POSSIBLE, vary the mic height for the 2nd through 5th positions, with two measurements being 6 to 12-inches below the 1st position and the other two measurements 6 to 12-inches above the height of the 1st position. This method provides ARC with a more three-dimensional view of the room and its acoustic signature.
Other Considerations When Taking Measurements with ARC Genesis
- A shorter distance between mic positions is advised only for systems where ARC is being used exclusively for low-frequency corrections (subwoofers or speakers with active woofer systems), where the room is already well treated, or where there’s only one primary listening position. In these cases, consider varying the distance between microphone positions by as little as one foot (30cm).
Don’t Make These Common Mistakes!
- NEVER measure all five positions at the same location—the differences in the acoustic response at the five measurement locations are what allows ARC to understand the acoustic signature of your room.
- NEVER place the 2nd through 5th positions at the four corners of the room—don’t do it! There doesn’t need to be much distance between microphone locations for ARC to understand a room’s acoustic signature. Long distances between measurement positions adversely impact your final room corrections.
- WHENEVER POSSIBLE, do not place the 2nd through 5th positions further than three feet (90cm) away from the 1st position—a symmetrical pattern of spots around the first location is more important than putting the microphone at each listening position throughout the room.
Dealing With Subwoofers That Have Built-in Equalization or Room Correction
We’ve often heard, “Equalization is available for my subwoofer. Should I use the sub’s built-in EQ when I am also using a receiver to correct the sub as part of a multi-channel system?” Since rooms and correction systems vary, the answer varies. If using MartinLogan or Paradigm subwoofers (with ARC or PBK built-in), results are often better with the subwoofer’s correction system is run before correcting the entire system. If the sub’s EQ is not ARC or PBK based, it is usually best to disable the subwoofer’s EQ before running ARC. When using ARC Genesis to correct the entire system with your Anthem receiver or preamp, if the resulting target curves and calculated curves in the room correction software resemble each other, there is typically no reason to use the sub’s EQ. If the two curves differ significantly through a wide range (meaning the room correction software was not able to make the subwoofer fully match the target curve), enable the sub’s EQ and rerun ARC to see if it helps.